Hop into Easter with Adorable Bunny Cinnamon Rolls Kids Will Love
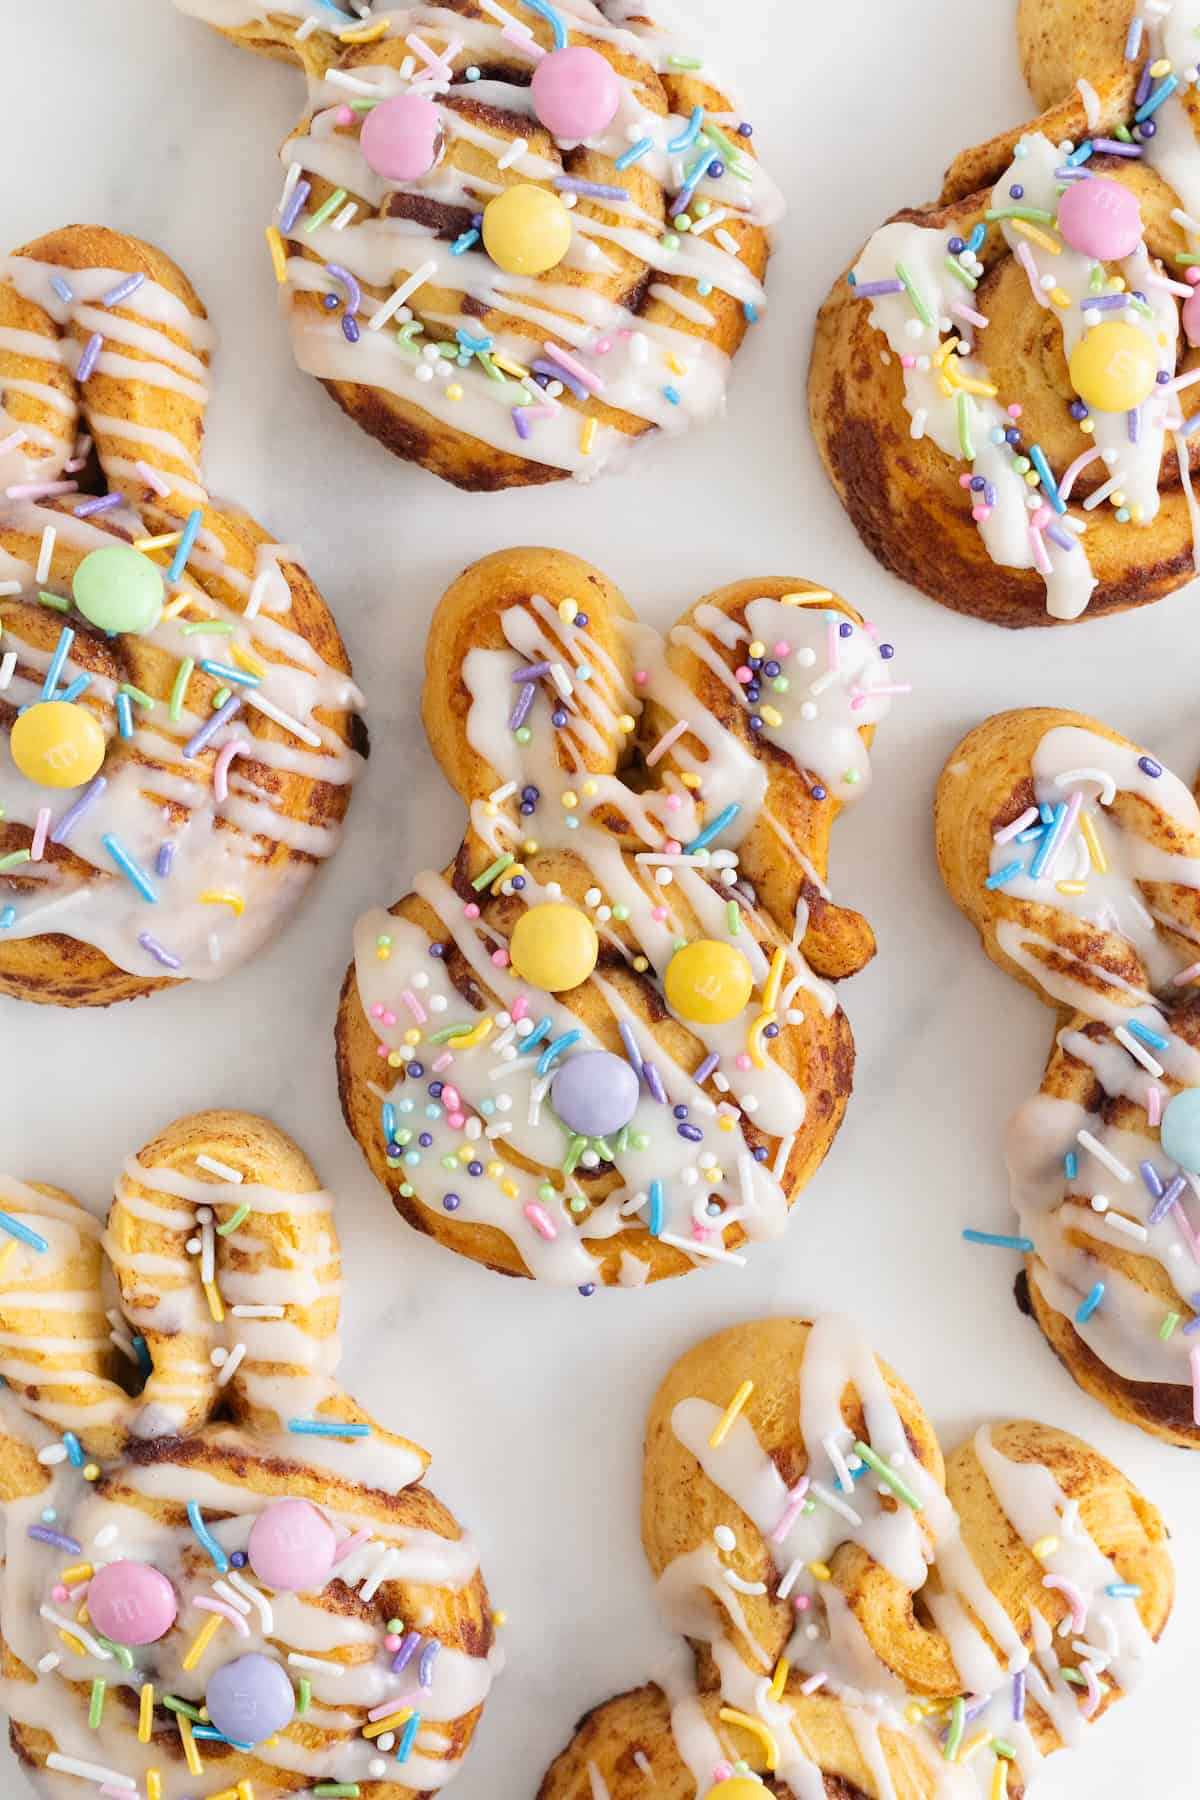
As the days grow longer and spring breathes new life into the world, there's a special kind of magic that fills our homes, especially as Easter approaches. What better way to capture that joyous spirit than with a breakfast treat that's as charming as it is delicious? Enter the delightful world of
bunny cinnamon rolls – an incredibly easy, utterly adorable, and guaranteed crowd-pleaser that will have your little ones hopping out of bed with excitement.
Forget complicated recipes or hours spent in the kitchen. This ingenious approach to creating festive Easter morning magic starts with a simple can of refrigerated cinnamon rolls and a few minutes of creative shaping. Perfect for busy parents, budding young chefs, or anyone looking to add a sprinkle of whimsy to their spring celebrations, these bunny-shaped pastries are a testament to how simple ingredients can yield extraordinary smiles. Whether it's for Easter brunch, a special weekend breakfast, or just a Tuesday that needs a little extra sparkle, these treats are bound to become a cherished family tradition.
Why Bunny Cinnamon Rolls Are Your Go-To Easter Treat
In a world bustling with complex culinary trends, there’s a profound beauty in simplicity, especially when it comes to creating memorable moments with children. Bunny cinnamon rolls perfectly embody this philosophy. They aren't just a sweet breakfast; they're an experience, a craft project, and a vessel for creating cherished family memories.
*
Effortless Elegance: The core appeal lies in their ease. Starting with store-bought cinnamon roll dough instantly bypasses the time-consuming process of making dough from scratch. This makes them accessible for cooks of all skill levels, even those who might shy away from baking. It's a quick win for busy mornings when time is of the essence but a special touch is desired. To learn more about this convenience, you might enjoy our article on
Easy Bunny Cinnamon Rolls: Quick Easter Treat from Canned Dough.
*
Unbearably Cute: Let's be honest, the "aww" factor is off the charts. The transformation of a humble cinnamon swirl into a charming bunny face with perky ears is pure delight. This visual appeal makes them irresistible, especially to children, turning a regular breakfast into an exciting event.
*
Kid-Friendly Fun: This isn't just a treat *for* kids; it's a treat *with* kids. The simple shaping and decorating steps are perfect for involving little hands. From unrolling the dough to placing chocolate chip eyes, children can actively participate in the creation process, fostering a sense of accomplishment and making the final product even more special.
*
Versatile for Spring Celebrations: While they shine brightest on Easter morning, these bunny cinnamon rolls are ideal for any springtime gathering. Think Mother's Day brunch, a spring-themed playdate, or simply a weekend when you want to surprise your family with something extraordinary yet simple.
Gather Your Hoppy Ingredients and Tools
One of the most appealing aspects of these festive treats is the minimal list of ingredients and equipment required. You likely have most of what you need already!
What You’ll Need:
- 1 can of refrigerated cinnamon rolls (with included icing): Opt for your favorite brand. The included icing is a true time-saver and perfectly complements the warm pastries. Most standard-sized cans work wonderfully.
- Chocolate chips or mini chocolate chips: These are your go-to for bunny eyes. Mini chocolate chips often create a more proportionate look for smaller bunnies.
- Optional: Candy eyeballs: For those who love a bit of whimsical charm (or a touch of silliness!), candy eyeballs are a fun alternative. Just be warned, they sometimes give the bunnies a slightly goofy, endearing look that kids often adore.
- Optional: Sprinkles or pastel candies: For noses or added decoration, a single mini chocolate chip, a tiny pink sprinkle, or even a small round candy can work wonders.
- Optional: Food coloring: If you want to tint the included icing pastel pink, purple, or green for an extra springy touch.
Handy Tools for Your Bunny Baking Adventure:
- Baking sheet: A standard baking sheet will accommodate several rolls.
- Parchment paper or silicone baking mat: Highly recommended! This prevents sticking, ensures easy cleanup, and helps the bunnies maintain their shape during baking.
- Cooling rack: For letting your warm bunnies cool slightly before frosting and decorating.
- Small bowl and spoon (if tinting icing): To mix in food coloring evenly.
Crafting Your Adorable Bunny Cinnamon Rolls: A Step-by-Step Guide
Get ready to transform simple spirals into charming creatures! The process is incredibly straightforward, even for little helpers.
- Preheat Your Oven: Begin by following the package instructions on your can of cinnamon rolls. Typically, this will be around 350°F (175°C). Line your baking sheet with parchment paper for the best results.
- Unroll with Care: Take each cinnamon roll and gently unroll about one-third of the way. The goal is to keep the main circular body intact, which will become your bunny's face. The unrolled portion will form the ears. Imagine pulling a string from a ball of yarn – you want to extend it, but not detach it.
- Shape the Ears: Once unrolled, carefully cut the extended strip of dough in half lengthwise using a knife or kitchen shears. You now have two thinner strips. Take each strip and gently bend it into a loop, forming the two bunny ears. Position these loops at the "top" of the main circular face and press them gently but firmly against the body of the roll where they connect. This helps them hold their shape during baking. Don't worry if they aren't perfect; a little squish after baking fixes most issues!
- Bake to Golden Perfection: Place your shaped bunnies on the prepared baking sheet. Bake them according to the package instructions, usually for 13-17 minutes, or until they're golden brown and cooked through. Keep an eye on them towards the end of the baking time, as oven temperatures can vary.
- Frost Your Bunnies: Once baked, remove the cinnamon rolls from the oven. Let them cool on the baking sheet for just a few minutes ��� they should still be warm, but not piping hot. This is the ideal temperature for the icing to melt slightly and spread beautifully. Drizzle or spread the included icing generously over each bunny.
- Bring Them to Life with Decorations: This is where the magic happens!
- Eyes: Use two regular or mini chocolate chips for the bunny's eyes. Place them pointy-side down for a smooth, round look.
- Nose: For a cute nose, a single mini chocolate chip (pointy-side up for a little dimension), a small pink sprinkle, or a tiny pastel candy works wonderfully.
- Alternative Eyes: If you're using candy eyeballs, gently press them into the still-soft icing for a fun, animated look. Remember, the charm often lies in their slight quirkiness!
For more creative ideas and detailed instructions on making your bunnies truly pop, check out our guide on Simple Steps to Decorate Festive Bunny Cinnamon Rolls for Spring.
Pro Tips for Flawless Bunny Cinnamon Rolls
Even with such a simple recipe, a few insider tips can elevate your bunny cinnamon rolls from cute to absolutely captivating.
*
The Squish Factor: Don't fret if the ears slightly separate or lose a bit of their shape during baking. As soon as they come out of the oven and are still warm and pliable, gently squish them back into place. The frosting will seamlessly cover any minor imperfections.
*
Icing Innovations:
*
Tinted Toppings: For an extra festive touch, empty the included icing into a small bowl and add a drop or two of food coloring (pink, lavender, or light green work best). Stir well until you achieve a beautiful pastel hue.
*
Flavor Boosts: Consider adding a tiny drop of vanilla extract or a pinch of lemon zest to the icing for an extra layer of flavor.
*
Kid-Friendly Assembly Line: Assign specific tasks to your little helpers. Younger children can unroll the dough or place the chocolate chip decorations. Older kids can help with cutting the ears (with supervision) or spreading the icing. This makes it a collaborative and engaging family activity.
*
Creative Flair Beyond the Basics:
*
Coconut Fur: Lightly sprinkle shredded coconut onto the frosted bunnies to create the illusion of soft fur.
*
Marshmallow Tails: Press a small, white marshmallow onto the back of each bunny's "body" for an adorable fluffy tail.
*
Rosy Cheeks: Dip a clean, small paintbrush into a tiny bit of red food coloring (diluted with water if too vibrant) and gently dab two small circles for rosy cheeks.
*
Storage & Reheating: While these bunny cinnamon rolls are undoubtedly at their best enjoyed fresh and warm from the oven, leftovers can be stored. Place them in an airtight container at room temperature for up to two days, or refrigerate for up to four days. To reheat, a quick 10-15 seconds in the microwave (for individual rolls) will restore their warmth and softness.
Hop to It! Create Lasting Easter Memories
These adorable
bunny cinnamon rolls are more than just a breakfast item; they're a delightful invitation to create lasting memories and infuse your home with the joy of the season. They prove that you don't need gourmet skills or a ton of time to make something truly special for your loved ones. So, gather your ingredients, enlist your little helpers, and get ready to bake up a batch of happiness. From the simple act of shaping the ears to the final touch of a chocolate chip eye, every step is an opportunity for connection and a prelude to smiles. This Easter, let your kitchen be filled with the sweet aroma of cinnamon and the even sweeter sound of delighted giggles. Happy baking, and happy Easter!